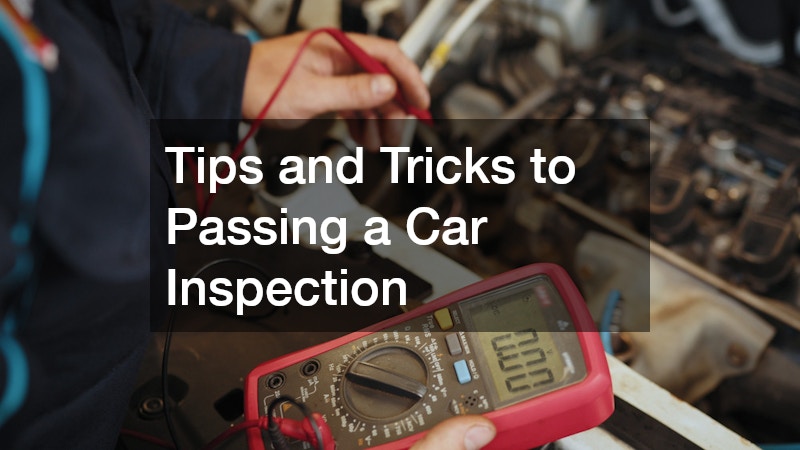

Taking your vehicle in for an official examination can feel like a stressful ordeal, especially if you rely on your automobile every day for commuting, running errands, or transporting your family. Passing this mandatory evaluation on the first attempt saves you both valuable time and hard-earned money. With a systematic approach and a little bit of proactive maintenance, you can dramatically increase your chances of sailing through the process without a hitch. This comprehensive guide walks you through everything you need to know to ensure your vehicle is completely ready before you pull into the testing lane.
Visual and Exterior Examinations

Clearing Your View from Behind the Wheel
Visibility is one of the very first things an evaluator checks during a vehicle inspection. Any crack, chip, or severe scratch directly in the driver line of sight can cause an immediate failure. Inspect your front shield carefully for any damage that might impair your vision. In many states, even small spiderweb cracks or long fractures near the edge of the glass are grounds for rejection. Taking care of this issue beforehand is critical for both safety and compliance. If the damage is substantial, scheduling an auto glass replacement prior to your test date ensures that your windshield meets all regulatory clarity standards.
In addition to the glass itself, make sure your wiper blades are in top physical shape. Worn out rubber that streaks, skips, or leaves water behind will draw immediate negative marks. Test your washer fluid spray nozzles to ensure they squirt fluid evenly across the glass without any blockages.
Maintaining Proper Tread Depth and Pressure
Your tires are the only point of contact between your vehicle and the road surface, making them a top priority during any official safety evaluation. Technicians will inspect both the depth of the tread and the structural condition of the rubber. You can easily check your tread depth at home using a simple penny test. Insert a penny upside down into the primary tread grooves; if you can see the top of Lincoln head, your tread is worn past acceptable safety margins and needs immediate attention.
Look for uneven wear patterns on the rubber surface, which often point to underlying alignment or suspension issues. Ensure there are no visible bulges, cracks, or exposed cords along the sidewalls. Finally, check that all four rubber covers are inflated to the exact pressure specified inside your driver door frame, and do not forget to check the pressure in your spare wheel as well.
Ensuring Exterior Lighting Meets Safety Standards
Functional lights are critical for night driving and communicating your intentions to other drivers on the road. Walk around your vehicle while a helper steps on the pedals and flips various switches. Verify that your low beams, high beams, daytime running lights, turn signals, hazard lights, brake indicators, reverse lights, and license plate illuminators are fully operational.
If a light is out, it is often as simple as swapping a burned-out bulb for a fresh one. If a new bulb fails to light up, check for blown fuses or corroded sockets. Cleaning hazy, oxidized plastic lens covers with a restoration kit will also boost light output and keep the evaluator happy.
Mechanical and Brake Inspections
Checking Brake Components for Safe Stopping Power
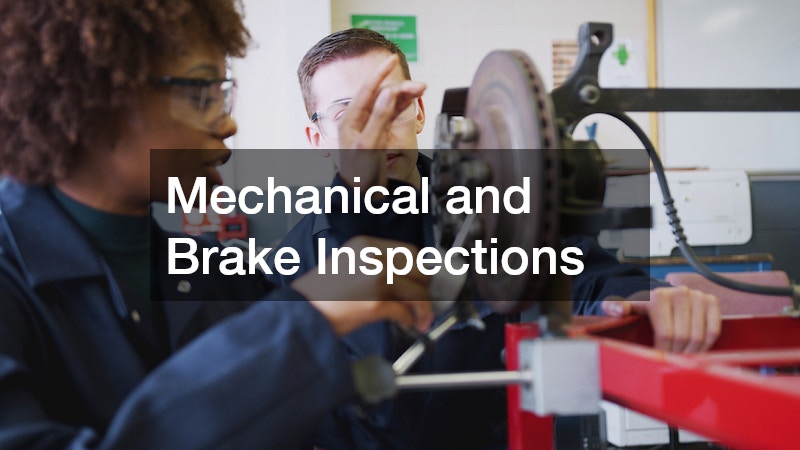
Few systems on your vehicle are as vital to your personal safety as the assembly responsible for slowing you down. An inspector will assess the thickness of your pads, the condition of the rotors, and the responsiveness of your pedal. If you hear squealing, grinding, or clicking noises when coming to a stop, or if your pedal feels spongy or pulls to one side, you need to address these warning signs right away. Booking professional brake repair services before your test will resolve these safety hazards and ensure your vehicle comes to a stop smoothly within legal distances.
Do not overlook the emergency brake system during your pre-test check. Technicians will engage the parking lever or pedal on a gradient to verify that it securely holds the vehicle in place without slipping.
Monitoring Fluid Levels and Eliminating Active Leaks
Fluid leaks under the engine bay are an instant red flag during any mechanical evaluation. Fluid puddles on the ground signal that critical components may be operating with insufficient lubrication or hydraulic pressure. Open the hood and inspect all major fluid reservoirs, including engine oil, coolant, power steering fluid, transmission fluid, and brake fluid.
Top off any low levels using the specific fluid formulations recommended in your owner manual. Inspect the engine bay for signs of active dripping or heavy buildup around gaskets and hoses. Addressing minor leaks early stops major engine damage and prevents test failures caused by fluid drops hitting hot exhaust components.
Steering and Suspension System Readiness
A firm, predictable suspension system is vital for keeping control of your vehicle through turns and over bumps. Technicians will check for excessive play in the steering wheel, worn ball joints, leaky shock absorbers, and damaged control arm bushings. You can test your suspension at home by pushing down firmly on each corner of your vehicle; if the body bounces more than once or twice before settling, your shocks or struts may be worn out.
Listen for unusual clunking or knocking sounds when driving over bumps or making tight turns at low speeds. Resolving suspension issues improves ride comfort while ensuring your vehicle handles safely under emergency conditions.
Diagnostics and Emissions Testing
Resolving Dashboard Warning Indicators Early
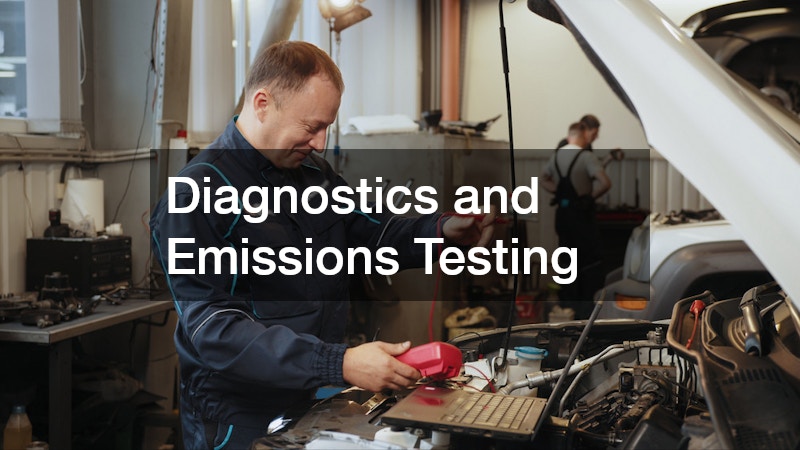
Modern vehicles feature sophisticated onboard computer systems that monitor everything from combustion efficiency to airbag deployment. If your dashboard displays an illuminated check engine light, your vehicle will almost certainly fail the computer diagnostic check automatically. This light signifies that the onboard system has detected a fault in the engine or exhaust systems, ranging from a loose gas cap to a failing catalytic converter.
Never attempt to bypass this test simply by disconnecting the battery or clearing the codes right before driving into the lane. The testing computer will recognize that the system monitors are incomplete and will turn you away until you have completed a specific drive cycle. Scan the computer for diagnostic trouble codes using an inexpensive code reader, fix the root cause, and drive the vehicle for a few days to reset all internal readiness monitors properly.
Managing Emissions Systems and Exhaust Integrity
Emissions testing measures the pollutants coming out of your tailpipe to ensure your automobile complies with local environmental regulations. A compromised exhaust system with rust holes, leaks, or loose hangers allows unfiltered gases to escape, leading to immediate rejection. Listen for unusually loud exhaust noises or rattling sounds beneath the vehicle when idling or accelerating.
Ensure your fuel cap seals tightly to prevent fuel vapors from escaping into the atmosphere. Replacing an old, cracked gas cap rubber seal is one of the cheapest and easiest preventative fixes you can make before an official emissions test.
Maintaining Battery and Electrical System Health
A weak battery or corroded terminals can cause erratic electrical behavior and reset onboard computer memories, leading to incomplete diagnostic readiness status. Inspect your battery terminals for white or greenish corrosion buildup, which can be cleaned off using a wire brush and a baking soda water mixture.
Ensure the battery is clamped down securely in its tray, as a loose battery can bounce around and cause electrical short circuits or physical damage. If your battery is more than three or four years old, have its charge tested at a local auto repairs shop to confirm it holds sufficient power.
Interior Safety and Structural Controls
Testing Seatbelts and Restraint Systems
Interior safety equipment receives close scrutiny during a physical vehicle evaluation. Pull each seatbelt all the way out to inspect the webbing for fraying, tears, or severe twisting. Latch each belt into its buckle firmly to ensure it locks into place securely and releases smoothly when the button is pressed.
Give each belt a quick tug to verify that the automatic locking retractor engages properly during sudden movement. Inspect the child safety seat anchor points to ensure they are accessible and free from debris or damage.
Verifying Horn, Mirrors, and Dashboard Controls
Simple cabin accessories play a big role in everyday driving safety and must function properly during an assessment. Press the horn to verify that it produces a clear, audible sound without delay. Test your heater and defroster systems to ensure air flows freely through the upper dashboard vents to clear fog from the glass.
Check all rearview and side mirrors to ensure they are free from cracks and adjust smoothly. Internal adjustment switches for powered mirrors should function without binding or slipping.
Ensuring Body Panels and Doors Function Properly
All doors must open smoothly from both the inside and outside, and they must latch securely when closed. Inspect the hood latch and secondary safety catch to ensure the hood stays locked down tight at high speeds. The trunk or rear hatch must also open, close, and latch correctly.
Check the body panels for sharp edges caused by rust or previous collision damage. Jagged metal edges that stick out from the body present a hazard to pedestrians and will result in a failed inspection until repaired or covered.
Choosing Professional Assistance
Finding Reliable Experts for Major Fixes
While many simple checks and minor maintenance tasks can be done in your driveway, complex mechanical or diagnostic issues require experienced technicians with specialized tools. Establishing a relationship with a trustworthy auto repair company ensures that complicated diagnostic codes, steering alignments, and internal engine issues are addressed correctly the first time.
Look for facilities with certified mechanics who are familiar with your state testing guidelines. Professional technicians can perform a comprehensive pre-test assessment to uncover hidden problems before they result in an official failure on your record.
Partnering with Qualified Local Service Centers
Relying on reputable auto shops in your neighborhood makes preparing for your annual examination convenient and hassle-free. Local mechanics often know the exact points that regional testing technicians focus on most, giving you a distinct advantage.
When selecting a garage, look for positive customer reviews, clear warranty terms on parts and labor, and transparent pricing. Communicating clearly with your mechanic about your upcoming test deadline gives them time to source parts and complete work without delay.
Final Cleaning and Document Preparation
Cleaning Your Vehicle Inside and Out
First impressions matter, even during a vehicle evaluation. An examiner who steps into a clean, well-maintained cabin is likely to form a positive impression right away. Take your vehicle through a manual car wash to strip away road grime, brake dust, and mud from the bodywork, undercarriage, and wheel wells.
Clean out the interior by removing trash, personal belongings, and heavy cargo from the cabin and trunk. A clean car allows the technician to access the spare tire well, seatbelts, and OBD-II port easily without digging through clutter.
Gathering Necessary Documentation and Paperwork
Before heading out to the testing location, double-check that you have all required paperwork neatly organized in your glove box or folder. Inspectors will require specific legal documents before they begin evaluating your vehicle. Missing paperwork will result in you being turned away before the test even starts.
Take time to verify that your vehicle registration is current and matches the vehicle identification number stamped on your dashboard. Ensure your proof of insurance card is active and easily accessible.
Recommended Pre-Inspection Checklist
Before scheduling your official test, complete this quick self-assessment to ensure your vehicle is fully prepared:
-
Verify that all exterior bulbs, including signal, brake, and license plate lights, illuminate brightly.
-
Measure tread depth across all tires, ensuring even wear and proper inflation levels.
-
Test windshield wipers and washer fluid spray nozzles for effective coverage.
-
Confirm that no warning indicators or error codes remain illuminated on the dashboard.
-
Check under the vehicle for active fluid drips or puddles.
-
Test all seatbelts, door latches, and the horn for proper function.
-
Organize registration papers, insurance cards, and past service records.
Smooth Driving Ahead
Passing your vehicle evaluation does not have to be a stressful or uncertain event. By taking a systematic, proactive approach to maintenance, you can discover and address potential issues long before they turn into costly failures. Performing simple visual checks at home, keeping up with routine fluid changes, and addressing diagnostic warnings promptly will keep your car running smoothly and reliably. When complex issues arise, partnering with skilled automotive professionals guarantees that your vehicle meets all necessary safety and environmental standards. With a clean automobile, complete paperwork, and a fully maintained vehicle, you can drive into the testing lane with total confidence and drive out with a fresh approval sticker.